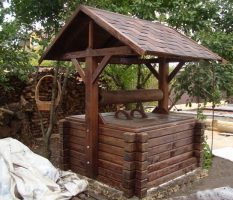
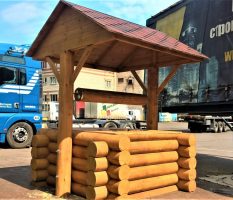
House for a well - professional projects and ideas for creating with your own hands (65 photos)
The well is equipped because of practical and aesthetic reasons: it is easier to use, better to protect and at the same time harmoniously fit into the existing landscape design. The modern market offers many universal options for well designs, which are not always to the liking of the owners because of the high cost or unsightly appearance.
The ideal option is to make a house for the well with your own hands, the more so because in fact it is cheaper, more interesting and more profitable.
Why is this needed?
The main function of the roof above the well is to protect water from rain and melt, dust, dirt, falling leaves, animals and even negatively affecting sunlight.
In addition to the main, there are additional and no less important tasks:
- Secure the place from small children;
- Close the source of water from strangers;
- Protect from pets and stray animals;
- Simplify the water collection system by setting up a pump, a mechanical device;
- Insulate the structure from cold and frost;
- Decorate a structure rather large in size and area.
Types of houses
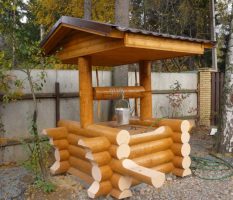
Before you make a house for a well, you need to determine the main type of structure: open or closed. The first will be more economical and at times simpler: the well ring is finished with stone, plastic or wood, depending on the materials available, and the racks, manure and cover are made as desired.
However, such a structure has many disadvantages, including water pollution and freezing in winter.
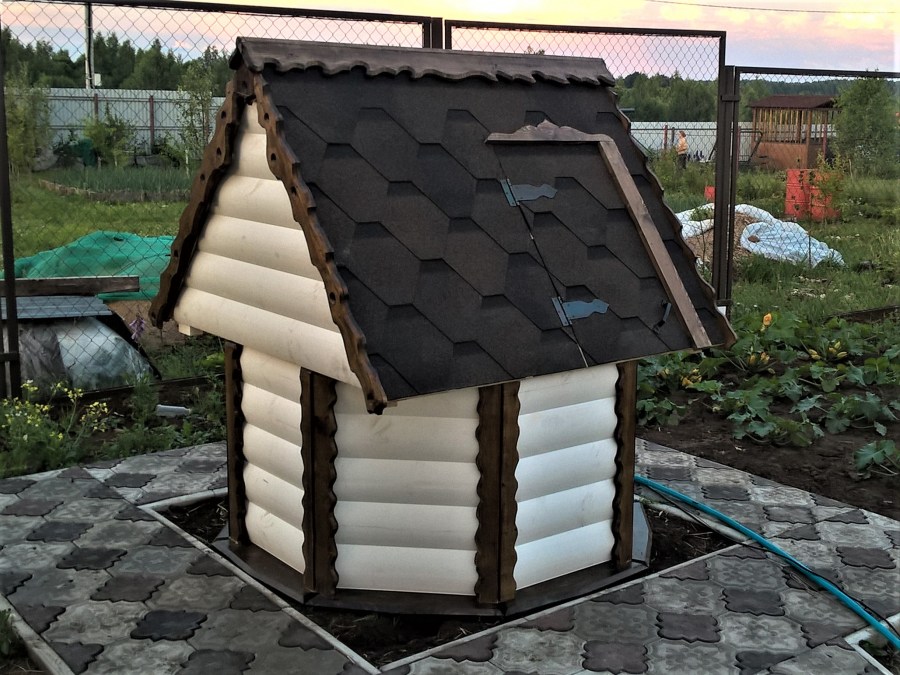
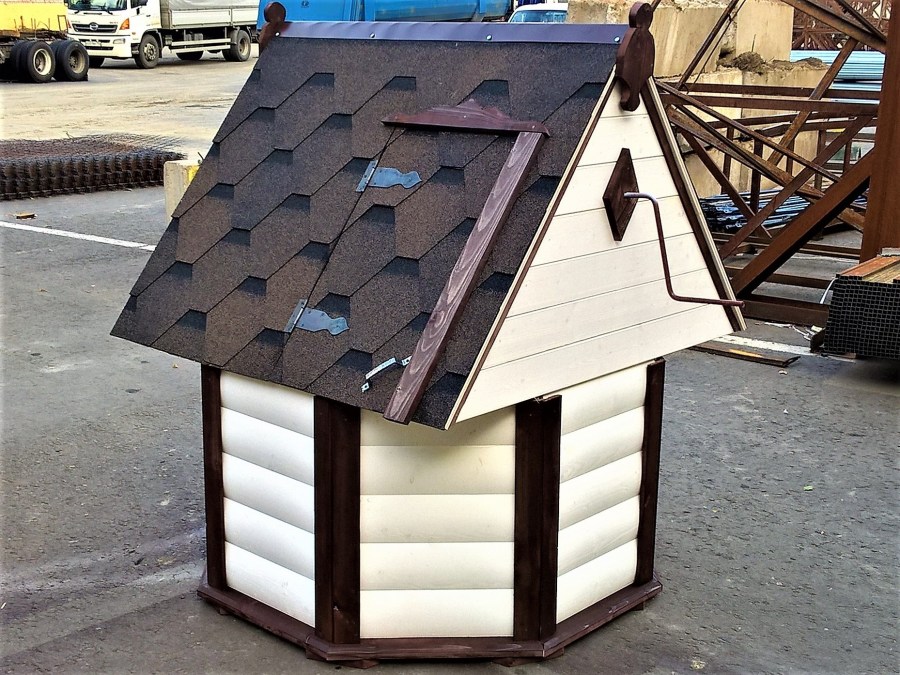
The closed version resembles a mini-house and is distinguished by a more complex insulated design with reliable locks and supports. The roof in this case is required.
Well facades differ in the materials used. Most often, the craftsmen make the choice of metal sheets and wood. The selection criterion here is the opportunity and desire to regularly look after the structure, because beautiful wooden buildings need to be tinted and eliminated during the season changes at least once a year.
The metal frame and finish is very durable, but does not have such an attractive appearance.
Orientation is also advised on the design of the main house and neighboring buildings.
Necessary materials
Often, the start in planning is the availability of improvised materials, which require a lot to improve a well. Equally important is the availability of a set of tools that provide high-quality processing, cutting and measuring the size of the future well house.
Depending on the chosen finish you will need: glued beams, edged boards, metal profile sheets, profile pipes, insulation, polystyrene foam, fasteners, corners, roofing slate, accessories.
The list of tools includes a tape measure, stationery, a planer, a jigsaw, a set of screwdrivers, a wrench, a hacksaw, a hammer and a building level. At the decoration stage, stones, pebbles, concrete mortar, carved details, and decorations may be required.
Step-by-step instruction
The variety of models of well houses is striking in the abundance of ideas and their embodiment. However, there is a universal instruction that is suitable as the basis for any construction of this type. So, for the construction of a well, covered by a canopy and a lid, the following algorithm should be followed:
We prepare all the necessary materials. We think over a drawing of a house house on a well on paper, where the available dimensions are entered, as well as the height and thickness of the insulation, the exterior of the ring, gate and canopy.
First of all, we collect the canopy: we make two triangles on the sides with an approximate size of 100x72x84 cm with a transverse strut with a diameter of 20 cm, we connect the elements with solid beams of the required length, given the protrusions of 20 cm from each edge.
If you plan to mount the supports directly to the ring, then we assemble the corresponding frame around the concrete head. In the case when the racks are fixed outside the frame, then we perform the opposite.
We reinforce the mounting points with overlays. We fix the bars of thickness that can withstand the canopy. We fix on the racks the previously assembled roof. We finish the construction: we sew it up with a board, lining and material for the roof.
Completely closed option assumes the presence of other actions.
We build the frame, install it on the well ring and fix it with bolts. We assemble the pallet and flooring. We sheathe the structure with high-quality material (for example, moisture-resistant plywood). We put jibs for doors. We hang one or two doors.
To hide in the house and the ring, increase the size of the structure by 20-30 cm from each edge. We leave an air gap or fill the space with foam or cloth.
Guided by this procedure, you can vary the action depending on the desired result and the available dimensions and materials. It is worth remembering that moist raw wood tends to dry out, leaving gaps at the joints of 5 cm over time. Therefore, the technique of applying boards crosswise is often used.
Subsequent decor
When the structure is assembled, securely installed and sewn with the selected material, you can safely proceed to the design of the well. It is possible embodiment of any ideas and fantasies. For example, we offer the following options:
- Finish the lower row of the building with masonry, hook the steering wheel of the ship on one side of the gate, and decorate the roof with carved wooden ornaments;
- Launch decorative snakes in contrasting color metal on racks and boxes;
- To make a thematic decor: a well as a house for the gnome with a small door, windows, front gardens on the sides and a figure of the "owner";
- Carved wooden patterns, both single and solid, are always relevant.
After carefully looking at photographs of all kinds of houses for a well, you can choose an already tested option or, inspired, think through your own design.
In any case, imagination is necessary only at the final stage of decoration and decor, but otherwise the construction (depending on the closed, half-open or open type) is carried out according to the standard scheme.
The main thing is to decide on the basic design, and the rest be guided by the attached instructions. And then the well will be not only beautiful, but also comfortable and practical.
Photo of a house for a well
Decorative pond: 90 photos of the best ideas for a modern garden
How to remove a stump with your own hands? Simple instructions with photos and tips
Grape seedlings - 90 photos of care, planting and cultivation of different varieties
Sprinklers: 125 photos of the best automatic irrigation systems
Join the discussion:
