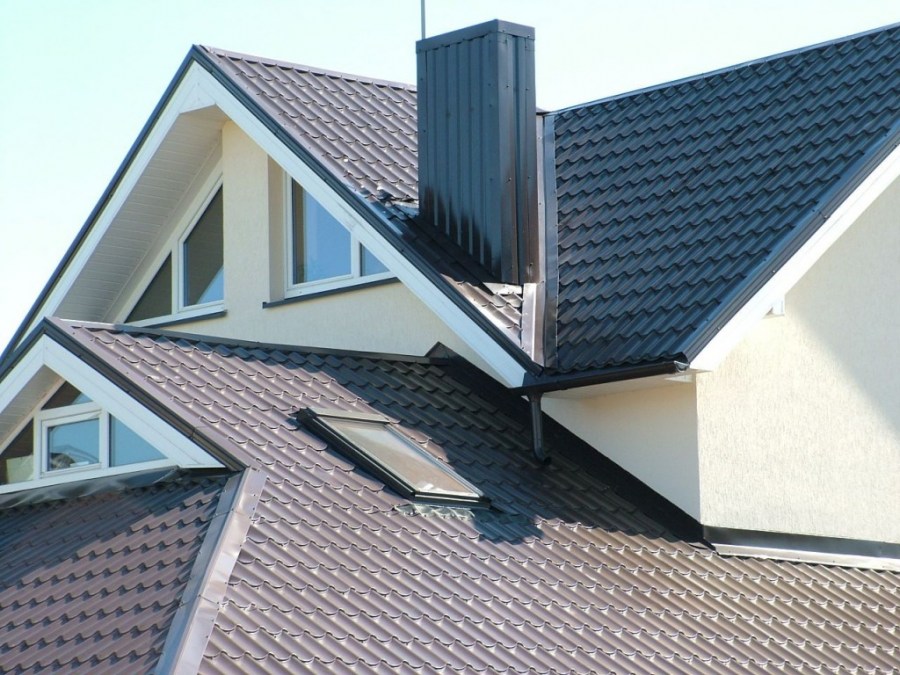
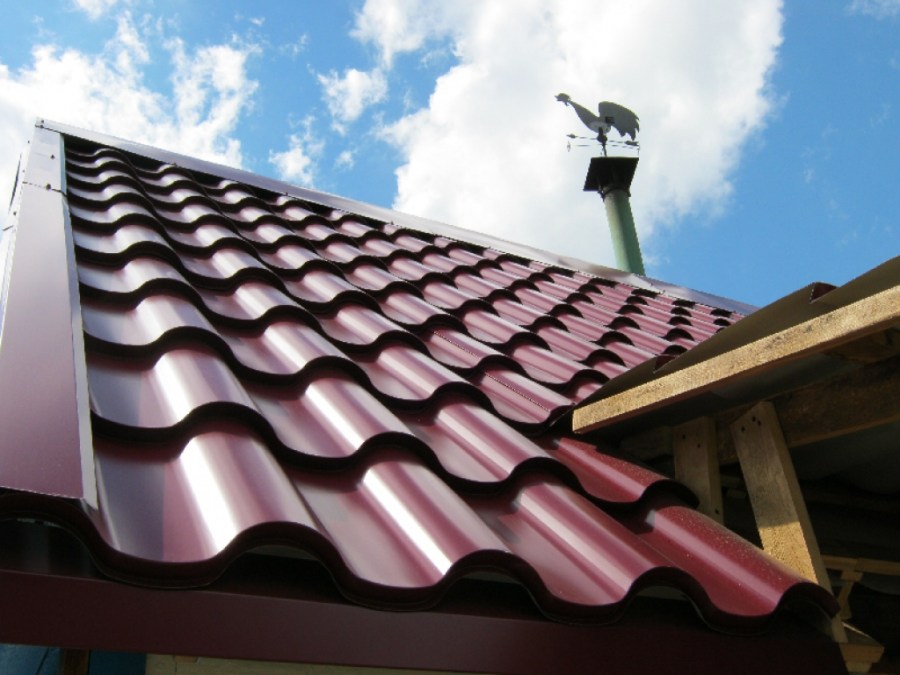
Roof made of metal: calculations, technology, roof construction, installation instructions + 140 photos of the roof
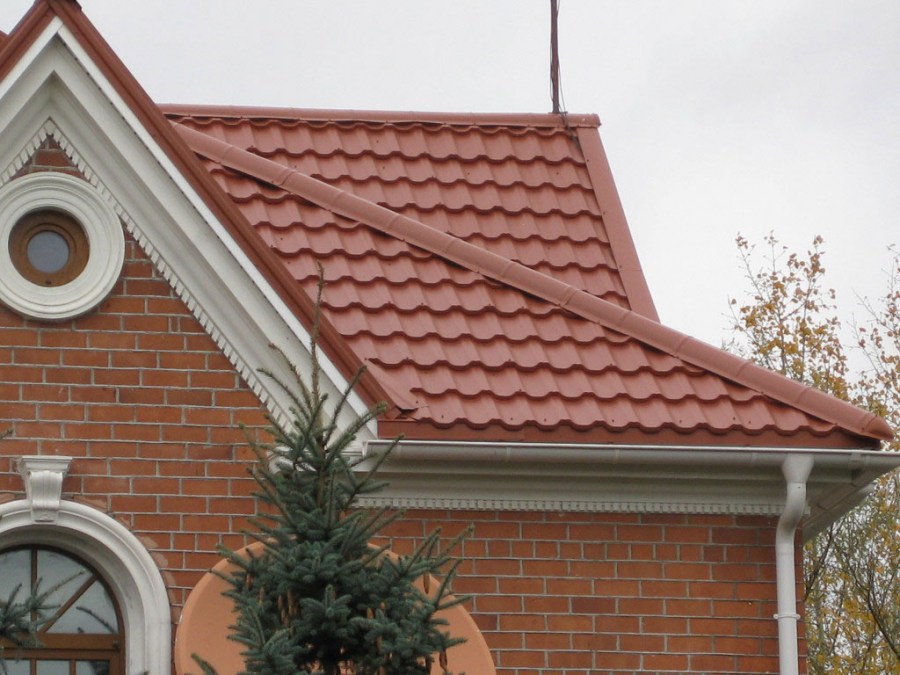
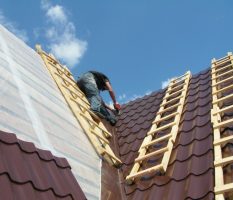
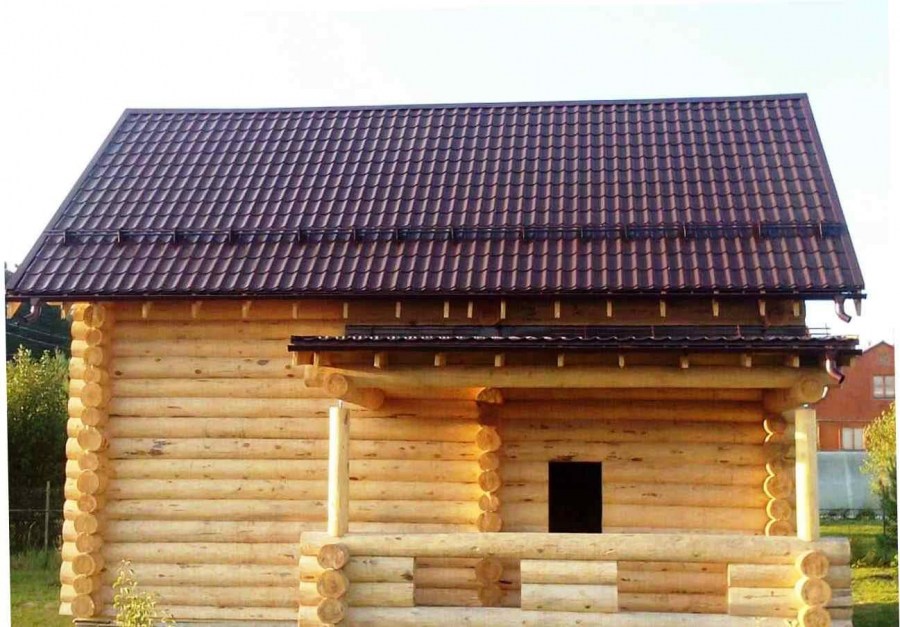
To make a high-quality roof from sheets of metal, you need to have a clear idea of the installation technology, have construction skills and master the basic working tool. Below we will consider the construction of a roof from a metal tile with your own hands.
Material Features
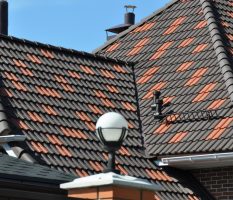
Metal tiles are steel sheets whose thickness varies from 0.35 mm to 0.7 mm. Moreover, the rigidity and stability of the roof depends on this indicator. Sheets are galvanized on both sides, the outside is coated with a special compound, polyester or plastisol. The dimensions of the metal roof tiles are as follows: the sheet width is usually 1 m, the length varies from 1 m to 8 m.
The main advantages of this roofing material include:
- light weight (not more than 6 kg per square meter);
- ability to easily withstand temperature changes;
- ease of replacing damaged items;
- corrosion resistance (subject to certain conditions);
- reliability and long-term operation (up to 50 years);
- relatively low cost;
- color variety.
Rules of arrangement
When working independently on the creation of a roof, it is necessary to strictly follow the technology of installing a roof from a metal tile. A tilt angle of at least 14 degrees is allowed.
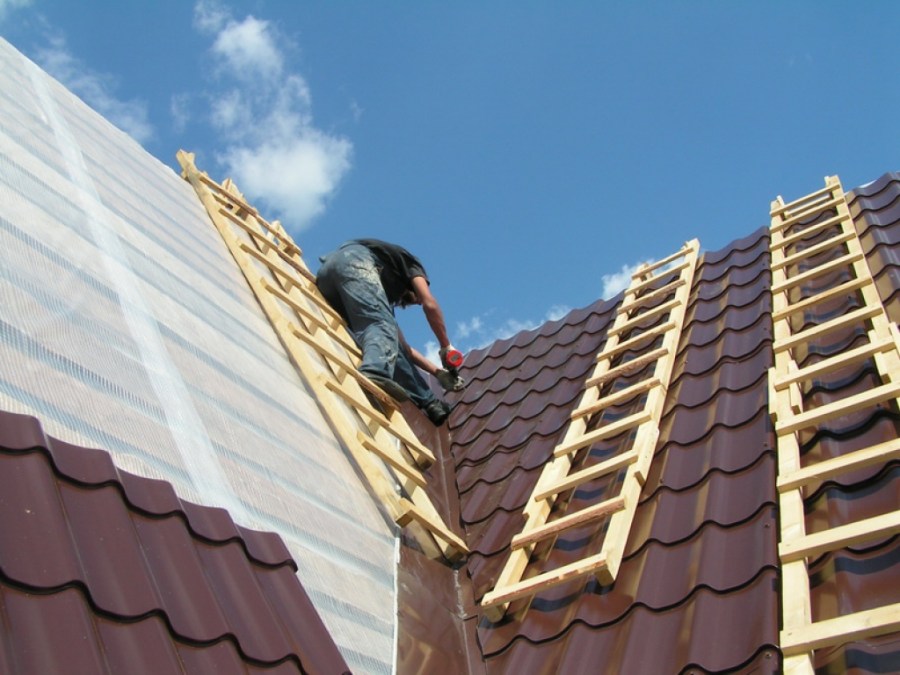
When arranging a gable roof, installation begins from the lower corner of the left side. The next sheet overlaps the previous one with an overlap of one wave. If a tent roof is implied, then the work starts from the highest point, gradually descending on opposite sides.
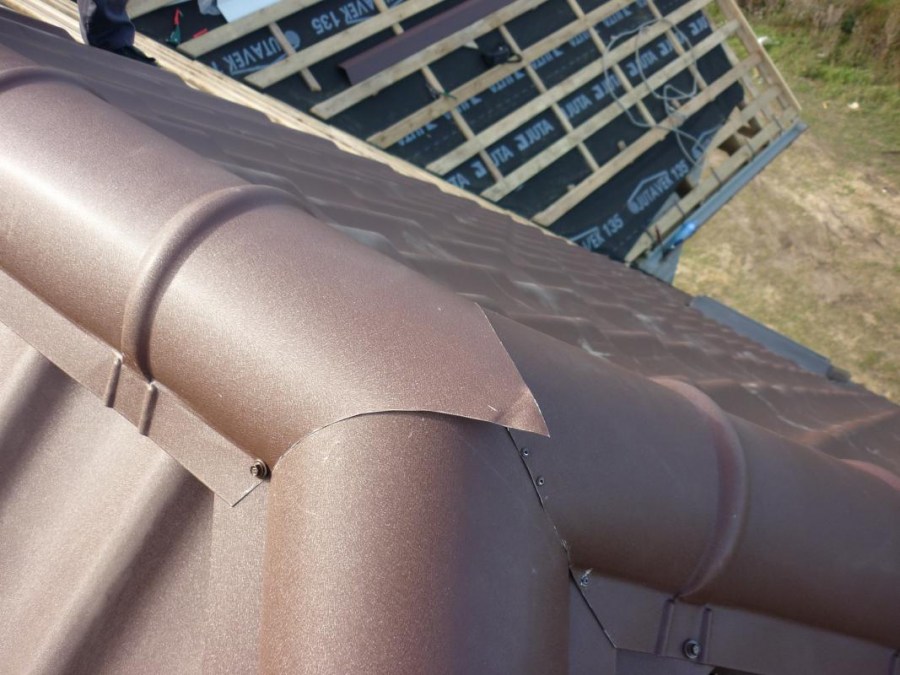
The last metal tiles must be hung about 5 centimeters above the final board of the crate. They are fastened with special self-tapping screws of the corresponding color, having rubberized gaskets. The skate is covered with special seals, on top of which a ridge metal element is installed.
A variety of additional elements of the roof brings with it the appearance of gaps that must be sealed. For these purposes, silicone-based sealant and special sealing tapes are used.
The roof space is where cold prevails and condensation can form. Therefore, it is necessary to make a high-quality roofing cake, taking care of the proper steam and waterproofing component, as well as ventilation.
Tools
For work you will need: a screwdriver with a bit for a roofing screw, a cutting tool, a special rail to maintain the same distance between the crate, a tape measure, a chopping cord, a marker, a sealant, a hammer.
Professionals do not recommend the use of a grinder for cutting sheets, since it will burn the edges of the cut, it can leave traces of hot scale on the surface. Subsequently, this will lead to corrosion of the metal.
Warm roofing cake
Layers of the roofing cake should be arranged in strict sequence. The composition of the warm roof is represented by: a rafter system, a vapor barrier film with a heat insulation layer, waterproofing, a counter-lattice, a crate and, finally, the metal tile itself.
The rafters and an additional strengthening of their bearing capacity make up the roof frame. The vapor barrier releases steam from the room, it is fixed from the inside of the batten boards.Thermal insulation is placed between the rafter legs, for example, it can be mineral wool.
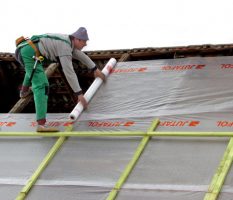
The waterproofing of the roof under the metal tile is necessary to prevent the ingress of condensate that falls on the back of the metal. The counter-lattice presses the waterproofing layer to the rafters and creates the necessary ventilation gap between the waterproofing and the crate. The boards of the crate are nailed to the counter-lattice, metal tiles are attached to them with the help of self-tapping screws.
Cold roofing cake
A waterproofing layer is laid on the rafters, which is pre-fixed with a construction stapler. Then the counter-crate is stuffed. Sheathing boards are attached to it, then comes the metal.
As in the case of a warm cake, in this case, proper provision of ventilation of the roof from the metal tile is also necessary. It is achieved thanks to the counter grill, which gives a gap between the waterproofing film and the battens.
For the considered roofing cake, an additional vapor barrier layer is not required. The technology itself is used extremely rarely, since a roof without insulation gives large heat losses and copes with noise poorly. The option of insulation of the ceiling, which serves as the ceiling in the house, is possible.
Mounting the roof ridge
The nodes of the roof made of metal need special attention. One of the nodes is the skate. If it is flat, then the slats are attached with an overlap on each other. Moreover, the resulting gap should look in the direction opposite to that from which the winds prevail.
The semicircular ridge is attached along the lines of the metal tile. When the slope has a triangular or trapezoidal shape, the ridge plank is adjusted to the slope of the ridge, if necessary, it is bent or unbent.
Installation of a valley
The brackets are fastened with an overlap of 20-40 cm. In this case, it is necessary to move from the eaves to the ridge. The end of the lower cornice strip is formed under the side. A seal is made on the last plank near the ridge.
Sheets of metal that fit the valley are trimmed about 7 cm from the axis of the laid bar. The endow itself is fixed with self-tapping screws, the trimmed edge of the metal tile is fixed in places of contact with the bar.
It is possible to decorate the edges of the cut metal tile using special overlays. The latter are stacked starting from the bottom of the roof, the overlap should be approximately 10 cm. The overlays prevent the blowing of snow under the cuts of the sheet, simplify the rolling of water into the valley.
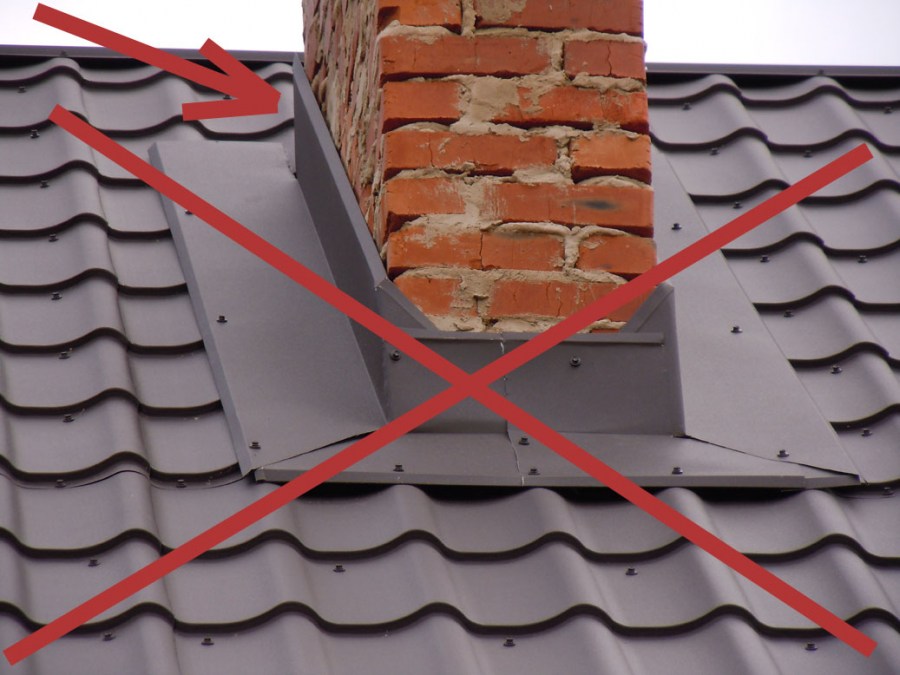
Chimney trim details
After arranging the waterproofing around the pipe and on the entire surface of the ramp, a special gutter is installed, which will act as a water outlet.
The whole design requires compliance with some general rules:
- fixing an apron implies the use of a sealant;
- the apron itself should close the top of the wave of the sheet of metal;
- the first apron is attached, which fits into the installed trough, and then the outer one.
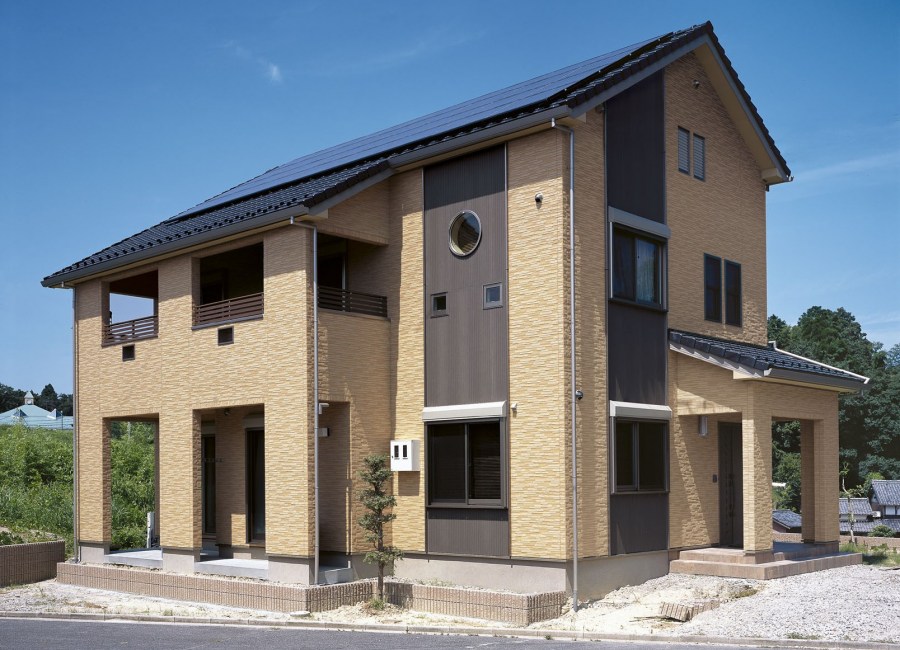
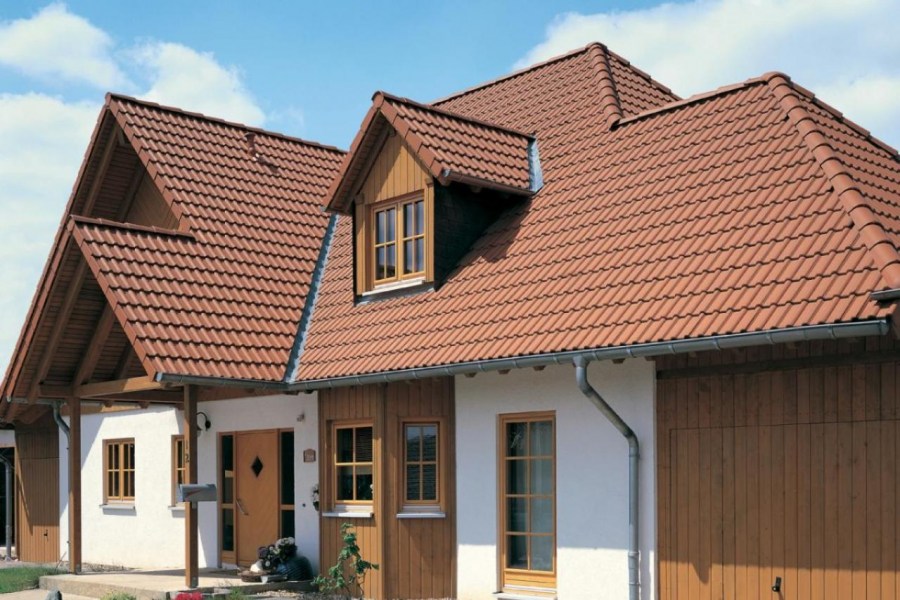
A properly mounted roof made of metal is durable and durable. If you follow the technology of laying sheets, as well as arranging the entire roof structure, including insulation, you can get an excellent roof over your head.And your photo of the roof made of metal laid out on the network will help novice builders to easily cope with this stage of building their own home.
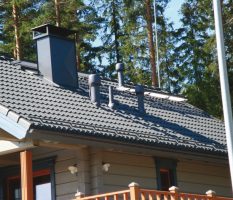
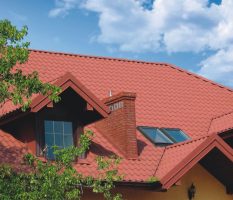
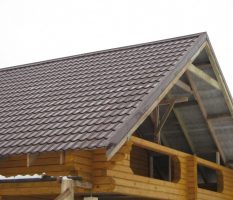
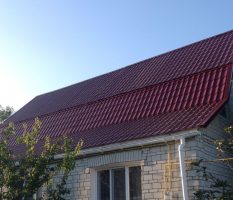
Photo of a roof made of metal
Decorative flower beds: 80 photos of interesting ideas from leading designers
Garden gnomes: 80 photos installation, lighting and selection of characters
Join the discussion:
